Category Archives: Recipes

Citrus-Ginger Tofu Salad with Kelp Noodles

One of my clients loves soba noodles, so I’m always on the lookout for interesting soba recipes. This week, I came across a recipe for Citrus Ginger Tofu Salad with Soba Noodles on Food52, and I prepared it for my client, pretty much as the recipe is written. It is everything you’d want to eat in the summer — bright, refreshing, full of crunchy vegetables. I highly recommend the recipe as written.

The version I made for myself later in the week had a few modifications. For one, I substituted kelp noodles for the soba because I had them on hand. Why did I have kelp noodles on hand? I’ve been meaning to experiment with them for some time because I’m attempting to incorporate more sea vegetables into my diet. The trace minerals found in sea vegetables — including iodine, which was added to table salt to prevent goiters in the early 20th century — are especially beneficial for thyroid health and other hormonal functions. The noodles have no flavor or color — they look like glass noodles — and they’re crunchy. However, after the salad marinated in the fridge overnight, the texture of the noodles resembled that of rice noodles. Also, they’re a raw food, if you’re into that kind of thing.

I also modified the variety of vegetables in the salad, based on what I already had in the refrigerator. For one, I peeled and grated the broccoli stalk, a sadly underutilized ingredient. It’s sweet and crunchy, and it adds another lovely layer of flavor and texture to any summer slaw. The recipe yields a lot of salad, and I’ve been eating the leftovers for the past few days. (If you know me, you know that I hate leftovers, so the fact that I’m not sick of this salad yet is a big recommendation unto itself.)

Here, I served myself the salad without the baked tofu to accompany some seared sockeye salmon. For breakfast because I love a really savory breafast.

Here, I served myself the salad without the baked tofu to accompany some seared sockeye salmon. For breakfast because I love a really savory breakfast.

Citrus-Ginger Tofu Salad with Kelp Noodles
Serves 4 (generously)

For the Tofu + Marinade:

  • 1 ounce orange juice
  • 1 ounce tamari (or other soy sauce, such as shoyu)
  • 1 ounce toasted sesame oil
  • 1 ounce sunflower seed oil (may substitute: grape seed, peanut, raw sesame oil)
  • 1 teaspoon finely grated ginger
  • 1 clove garlic, minced
  • 2 teaspoons maple syrup
  • 1/4 teaspoon cayenne pepper
  • 1 package extra firm tofu

Preparing the Tofu + Marinade: Preheat the oven to 350º Fahrenheit. In a bowl mix together orange juice, tamari, sesame oil, sunflower oil, ginger, garlic, maple syrup, and cayenne and set aside.

Cut the tofu into 1-inch cubes and place into a small baking pan without overlapping. Pour the marinade over the tofu. Put the tofu into the oven and bake for 15 minutes, stir, and bake for 15 minutes more until browned. With a slotted spoon, scoop out the tofu and place onto a plate and allow to cool. Pour the remaining marinade into a bowl and set aside.

For the Salad:

  • Leftover marinade
  • Zest of 1 lime
  • Juice of 1/2 lime
  • 1 ounce orange juice
  • 3 tablespoons seasoned rice vinegar
  • salt to taste
  • 1 (12-ounce) package kelp noodles*
  • florets from 1 bunch of broccoli
  • stalks from 1 bunch of broccoli, peeled and coarsely grated
  • 3 small carrots, peeled and coarsely grated (I used a variety of rainbow carrots)
  • 2 cups shredded red cabbage
  • 1/3 cup cilantro, chopped
  • 8 basil leaves, thinly sliced
  • 1 tablespoon sesame seeds, toasted

Preparing the citrus vinaigrette: Add the lemon zest and juice to the remaining marinade. Continue to add the orange juice, rice vinegar, maple syrup, and sea salt to taste. Set aside.

Preparing the salad: Rinse the kelp noodles in cold water and drain. Set aside. Meanwhile, bring a small pot of water to a boil, and blanch the broccoli florets for 30 seconds. Immediately strain the florets and rinse with cold water. Put the blanched broccoli florets, shredded broccoli stalks, carrots, cabbage, cilantro, basil, and sesame seeds into a large bowl and toss. Dress the salad with the citrus vinaigrette. Serve the salad topped with baked tofu and garnished with sesame seeds.

*You can find kelp noodles at Whole Foods and most health-food stores.

Duck Tales: My Very First Cook-Off

I have fallen deeply, madly in love with duck. It might just be my second favorite protein, behind lamb, so I’m always looking for new duck recipes. Several months ago, I came across a recipe for Duck Breasts with Fennel and Rosemary. The description said that the duck is prepared in the style of porchettaroasted suckling pig highly seasoned with aromatic herbs and garlic. The recipe was solid, but not spectacular: good enough to hold onto until I had time to tweak it.

Then, last month, I received an email from Food Systems Network NYC announcing their 3rd Annual Duck-Off at Jimmy’s No. 43. A duck cook-off! I’ve never participated in a cook-off before, but Hudson Valley Duck Farm was donating the duck, so I was in! I decided to revisit the duck porchetta recipe, figuring that it was simple enough to scale up the recipe for a large crowd, and it was the perfect opportunity to finally play around and perfect it.

The first (and best) porchetta I’ve ever tasted was at Sara Jenkins’ shop, Porchetta, so I decided to begin experimenting with her recipe, which you can find on the shop’s website. This meant I had to procure fennel pollen. FENNEL POLLEN! This is a key ingredient to the porchetta herb mixture, as Chef Jenkins explains on her website:

the wild fennel pollen: comes from the small dried petals and pollen of the wild fennel flower which grows everywhere in the Mediterranean. This powerful flavor is so closely connected to Porchetta in Italy that other meats using fennel pollen are said to be Porchetta style.

Okay, this was already getting interesting. After some snooping on the internet, I decided to order the fennel pollen directly from Pollen Ranch. And then I had to wait a few days.

Fennel pollen acquired, I made a small batch of duck breast following Jenkins’ herb-mix recipe exactly. It was good, but duck has a gamier flavor than pork, so I needed to play around with it a bit. I decided I needed more garlic and the sweet, citrusy flavor of orange zest. Also, I decided to season the meat directly with salt and pepper, rather than adding those ingredients to the rub. Et voilà! After just a couple of small tweaks, I had my recipe. I decided to serve the duck simply — an open-faced sandwich on ciabatta bread, similarly to how Ms. Jenkins serves her porchetta sandwiches. The meat is flavorful enough that you really don’t need much more to accompany it. Besides, this competition was all about the duck.

I had eighteen pounds of duck breast to prepare! So, I seasoned and tied all 18 breasts together the night before the cook-off and let them sit in the fridge overnight. I’d never let the breasts marinate so long before cooking them, but I figured it couldn’t hurt. In fact, I think it only improved the outcome because . . .

I ended up winning 2nd Place — People’s Choice! I won a very nifty Wüsthof knife, and I may be hooked on this cook-off lifestyle. The whole experience was a lot of fun and I met some great cooks and duck enthusiasts. For a list of all the winners, click here.

Big thanks to FSNYC, Hudson Valley Duck, and Jimmy’s No. 43 for such a fun experience! And a special thank you to Sara Jenkins for inspiring my prize-winning recipe!

Now, without further ado, here’s the recipe for my prize-winning Duck Breasts “Porchettata”.

Roasted Duck Breasts “Porchettata”
Adapted from Sara Jenkins’ Porchetta recipe
Serves 8

Ingredients
4 boneless duck breast halves (approximately 4 pounds, total)
kosher salt
freshly ground black pepper
20 fresh sage leaves
3 leafy sprigs fresh thyme, leaves removed
3 leafy sprigs rosemary, stemmed
4 garlic cloves, peeled and roughly chopped
2 tablespoons fennel pollen*
zest from half an orange, grated

Procedure
Heat oven to 400ºF.

Pat duck breasts dry, and with a sharp knife score skin in a one-inch crosshatch pattern (be careful not to cut into the meat). Place duck breasts, skin side down, on work surface and season generously with salt and pepper.

Finely chop sage, thyme, rosemary, and garlic together (you can do this in a food processor or by hand). Place the mixture in a small bowl and add fennel pollen and orange zest. Mix well.

Press the herb mixture over duck breast meat. Place one breast atop another, meaty sides together. Tie breasts together with kitchen twine so that you have 2 duck breast bundles.

Place tied duck breasts in a 12-inch, heavy-bottomed ovenproof skillet. Place skillet (with the duck breasts in it) on the stovetop over medium heat. Cook until well browned on all sides, turning occasionally, about 10-15 minutes. Discard fat from skillet. Transfer skillet with duck to oven. Roast about 25 minutes, flipping the breasts midway through cooking. Transfer duck to cutting board and let rest 10 minutes.

Meanwhile, pour pan drippings into glass measuring cup. Spoon fat off top. Remove string and cut each breast into half-inch slices. Drizzle any pan juices over and serve immediately.

*Fennel pollen is available at Kalustyan’s, pollenranch.com, zingermans.com, and select specialty food stores.


Pelmeni

When asked if I have a favorite food, I usually blank. There’s so much delicious food in the world, and I’m so fickle: How can I possibly choose a single favorite food? And then I made pelmeni from scratch. And when I was describing them to a friend, I realized that they are, indeed, my all-time favorite food. Any time, any place, they are the perfect comfort food, beacons of sustenance and home. I’ve never realized that they are my favorite food because they are such a staple of growing up in a Russian-speaking household: always stocked in our freezer by the 50-count, always ready when we needed a quick meal, always soul-satisfyingly delicious.

Pelmeni are Russian meat dumplings. They can be filled with any combination of meats: beef, pork, lamb, veal, chicken. They are boiled, and can be served various ways: in chicken soup (similar to tortellini en brodo) or on their own tossed in sour cream. The way I grew up eating pelmeni — the only legitimate way, in my view — was tossed in butter, white distilled vinegar, and a sprinkle of cayenne pepper. I didn’t even know that other people ate pelmeni with sour cream until I was an adult. For me, sour cream was strictly reserved for vareniki (what most Americans know as pierogi). The addition of cayenne pepper, however, might be distinctly my father’s invention (thanks, Dad!).

I was too impatient to call up relatives for their pelmeni recipes (my mom has always bought them from Russian food stores in Brighton Beach. Side Note: Cafe Glechik on Coney Island Avenue probably has the best pelmeni and vareniki in the tri-state area). I had to know how to make them right away, so I did a Google search and came up with the recipe below based on an amalgam of dozens of recipes I found online.

The process is time consuming and a bit labor intensive. Instead of rolling out the dough, however, I made use of my pasta machine. Ironically, this is the first time I’ve used this machine, despite having owned it for over a year. One of the perks of making your own pelmeni is total control over the ingredients. This means, I used all pasture-raised eggs and meats for the dough and filling. I made a special trip to the Union Square Greenmarket to pick up pork from Flying Pigs Farm and beef from Bobolink Dairy & Bakehouse. Some traditionalists will say that the filling for these dumplings ought to be only ground meat and onions. I firmly believe that garlic makes everything better, and so I added it. My pelmeni, my rules! So, without further ado…

PELMENI (пельме́ни)
Makes about 100 dumplings

Ingredients
Filling:
1 pound ground pork
1 pound ground beef
1 large onion (6-8 oz.), finely chopped in a food processor or grated on a box grater
2 large garlic cloves, grated on a microplane grater
salt and freshly ground black pepper

Dough:
3 cups all-purpose white flour
2-3 fat pinches kosher salt
2 eggs
cold water (up to 1/2 cup)

Procedure

Start by mixing up all the filling ingredients in a large bowl.  Season the mixture generously with salt and pepper. I used a KitchenAid on low with the paddle attachment to give the filling a quick and thorough mix. You can definitely do it by hand. Cover with plastic wrap and let it rest in the fridge for at least an hour.

I found that mixing the dough in a food processor was the easiest way. In the bowl of a food processor, combine the flour and salt. Give it a quick pulse to combine. Add the eggs and pulse a few times to incorporate. Now, with the processor running, slowly stream in water until the dough just comes together. Don’t overwork the dough. Dump the dough onto a well-floured surface and knead until smooth (about 5 minutes). Wrap tightly in plastic wrap and refrigerate to let dough rest, at least one hour.

To make dough by hand: Whisk together flour and salt in a bowl, then mound the flour in the center of a large wooden cutting board. Make a well in the middle of the flour, add the eggs. Using a fork, beat together the eggs and begin to incorporate the flour starting with the inner rim of the well. Gradually add the water as you mix the dough with your hands. As you incorporate the eggs, keep pushing the flour up to retain the well shape (do not worry if it looks messy). The dough will come together in a shaggy mass when about half of the flour is incorporated.

Start kneading the dough with both hands, primarily using the palms of your hands. Add more flour, in 1/2-cup increments, if the dough is too sticky. Once the dough is a cohesive mass, remove the dough from the board and scrape up any left over dry bits. Lightly flour the board and continue kneading for 3 more minutes. The dough should be elastic and a little sticky. Continue to knead for another 3 minutes, remembering to dust your board with flour when necessary.

It’s easiest to roll out the dough in sections, so I recommend cutting the dumpling dough in four pieces. On a lightly-floured surface, roll out one section to about 1/16″ inch thickness. If you’re rolling the dough in a pasta machine, I suggest rolling it to setting 5 (second to last thinnest setting). I used a biscuit cutter (about 1 7/8″ diameter) to cut out circles in the dough. Traditionally, Russian home cooks have been known to use drinking glasses to cut out the circles.

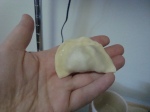
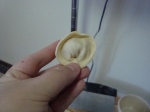
Place one level teaspoon of filling at the center of each circle, fold the dough over to make a half-circle, and pinch the edges closed. (Your seam won’t hold if there is too much flour on the dough or if you accidentally get it wet. If the dough is floury, moisten the edges very lightly with a drop of water; if it is wet, add a tiny bit of flour.) Now bring the ends of the half-circle together until they overlap a little and pinch them closed to form a tortellini-like shape.


Repeat with the remaining dough and filling, placing the finished pelmeni or vareniki on a lightly floured surface and making sure they aren’t touching each other. At this point, you can either cook them or freeze them for later use.

To cook the dumplings, bring a pot of salted water to a boil, add pelmeni and stir so they don’t stick to the bottom. Technically, they are ready once they float to the surface, but I usually cook them for 2 more minutes to make sure the meat is cooked through. If you cook them too long, though, the meat can dry out and the dough fall apart.

To freeze the dumplings, place them in a single layer (not touching each other) on a metal cookie sheet and put in the freezer until the dough is frozen (at least an hour). Once the exterior of the dumplings is frozen, you can bag them without worrying about them sticking together.

As mentioned above, I serve pelmeni tossed in butter, white distilled vinegar, and cayenne. But, really, your imagination is your limitation on how to serve these deeply satisfying, perfect meat dumplings.

Note: You can use a special pelmeni mold to make things a bit faster. However, the foldover method I described above produces much prettier dumplings (dumplings, incidentally, that provide a little channel all the way around to hold onto butter, sourcream, vinegar, soup, etc.).

Roasted Cornish Hens with Garlic and Dill

Fresh dill is quite a common seasoning in Eastern European cooking. Growing up, I generally hated it, but have warmed up to its distinctively aromatic grassy flavor. As with most things edible, I find that garlic is a great compliment to this robust herb. Since dill loses some of its flavor in the cooking process, I generously garnished the bird with fresh chopped dill and barely-cooked garlic in butter.

You can certainly cook the hens whole, but I find that spatchcocking them (removing the spine and flattening them) both speeds up the cooking process and makes them a little easier to dig into.


Ingredients
1/2 cup tightly packed fresh dill sprigs, minced
8 garlic cloves, minced
1/4 cup extra-virgin olive oil
2 Cornish Game Hens
salt and pepper, to taste

Garnish:
1/2 cup tightly packed fresh dill sprigs, roughly chopped
2 tablespoons butter
4 cloves garlic, minced

Procedure

  1. Preheat oven to 400F.
  2. In a small bowl, combine dill, garlic and olive oil.
  3. To spatchcock the Cornish hen, get some strong, sharp scissors (or poultry shears) and cut down either side of the spine, take out the spine, then press down on the breast to open it out flat. Generously season all sides of each hen with salt and freshly-ground black pepper. Lay the hens out, breast side up, on a baking sheet lined with a baking rack.
  4. Smother all sides of each hen with the dill and garlic mixture. Roast until the Cornish hens are reddish-gold on top, and cooked through, about 30 to 40 minutes.
  5. To serve: Place hens on their serving dish and top with fresh chopped dill. Place butter and minced garlic in a small frying pan over medium heat. Allow butter to melt and garlic to sizzle for about a minute (garlic should not brown), and pour over the chopped dill on the hens.

Apple Crumble

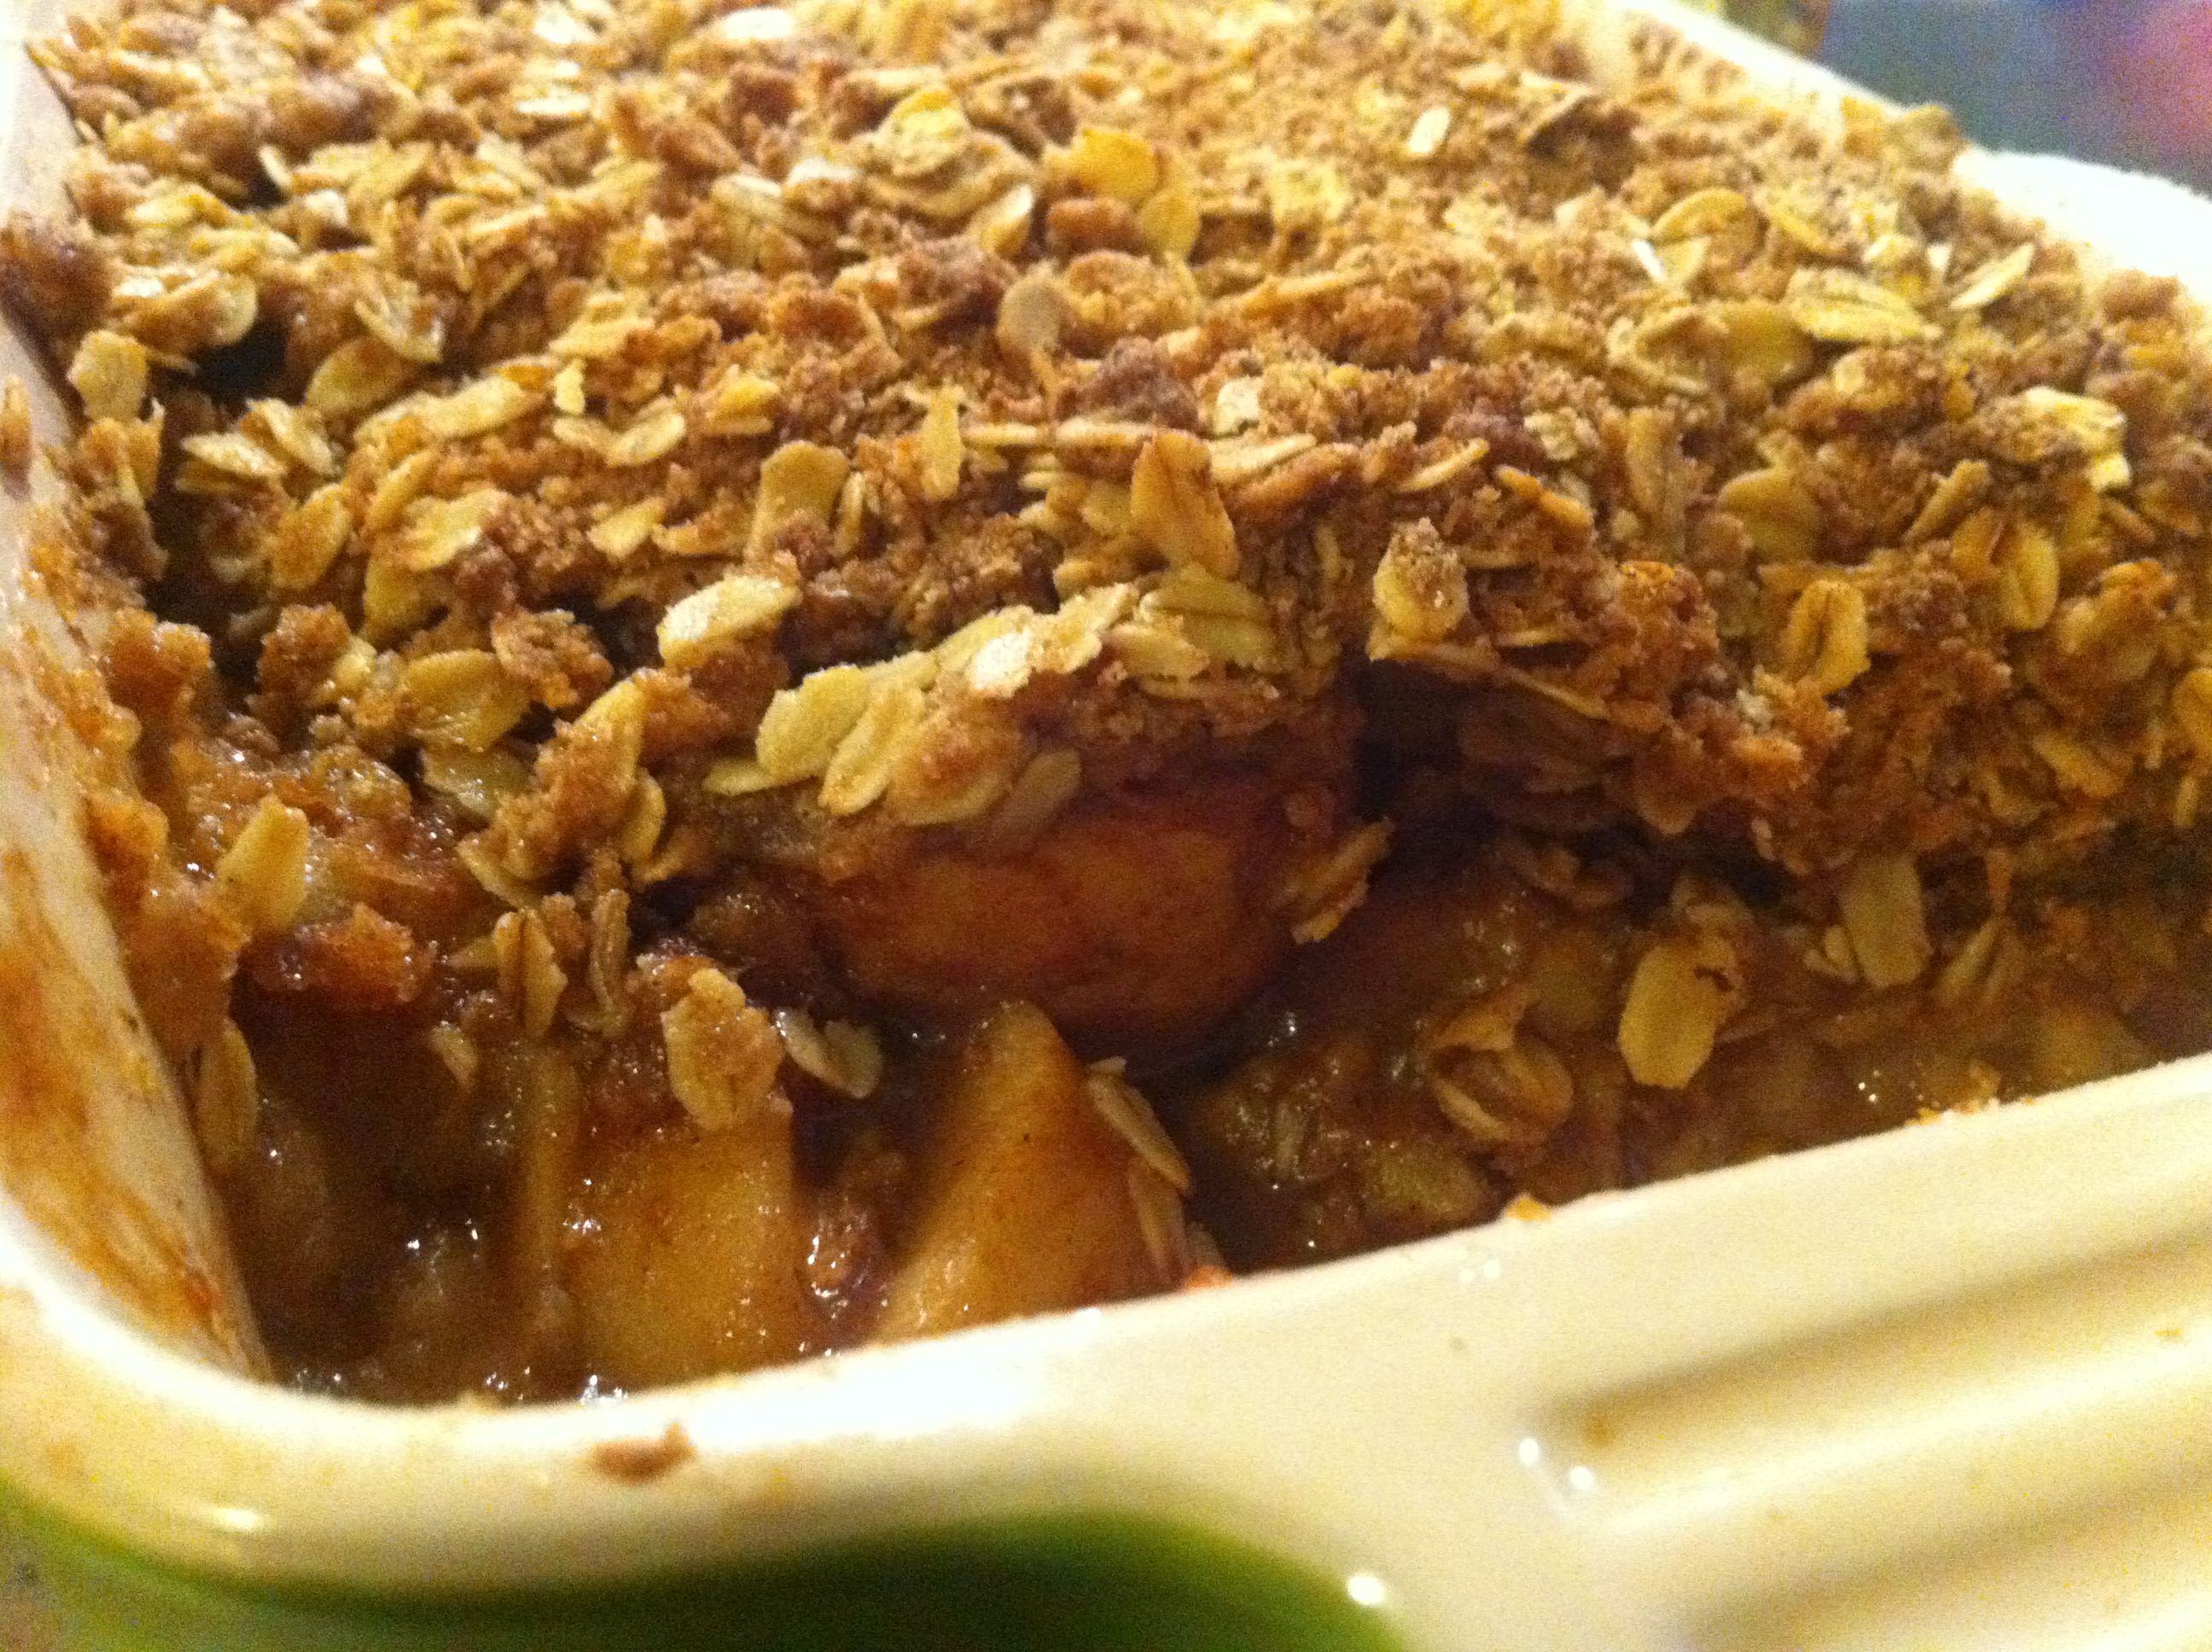
I’ve been getting a lot of apples and pears in my CSA. A LOT. A friend of mine invited me over to her house to break the Yom Kippur fast, so I decided to bring an Apple Crumble Pie. This recipe is for a very large (13 x 9 inches) tray of Apple Crumble, but I decided to divide the filling between a 9-inch (alas, store-bought) piecrust and a 10-x-7-inch baking dish.

I think that this recipe is an amalgamation of a few different apple pie and apple crisp recipes I had looked up last year. It’s really easy to play around with it and figure out your ideal combination of flavors. I, predictably, decided to sweeten the filling with sucanat, as it has become one of my favorite natural sweeteners because of its rich molasses flavor. You can, of course, substitute sugar. Our CSA bag has included a variety of apples, so I used whatever was in the bag: Cortland, Macintosh, Golden Delicious, Empire. I like the variety of flavors and textures that result from combining different varieties of apples, making each bite a bit of a surprise.

Apple Crumble or Apple Crumble Pie

Ingredients

Topping:

  • 2 ½ cups old-fashioned oats
  • 1 cup (packed) light brown sugar
  • 1 ½ teaspoons ground cinnamon
  • ¼ teaspoon salt
  • 1 cup all purpose flour
  • 1 cup (2 sticks) chilled unsalted butter, cut into ½-inch cubes

Filling:

  • 4 pounds mixed apples
  • 2/3 cup sucanat
  • 2 teaspoons ground cinnamon
  • 1 teaspoon nutmeg
  • 1 teaspoon allspice
  • 1 teaspoon ground ginger
  • ¼ teaspoon salt
  • 2 teaspoons vanilla extract
  • 2 tablespoons all purpose flour
  • 2 tablespoons unsalted butter, melted

Vanilla ice cream

Procedure

Preheat oven to 375°F.  Lightly grease a 13-x-9-x-2-inch glass baking dish.

Mix oats, brown sugar, and flour in a bowl.  Add butter and rub in with fingertips until topping comes together in moist clumps. (Can be made 1 day ahead. Cover; chill.)

Mix all filling ingredients in large bowl to coat apples.  Transfer to baking dish.  Sprinkle topping over.

Bake crumble until apples are tender and topping is brown and crisp, about 55 minutes.  Cool slightly.  Spoon warm crumble into bowls.  Serve with ice cream.

Note: If you’re baking this recipe in a pie or 2 smaller baking dishes, check on it after about 40 minutes. You don’t want the crumble to burn.

Ready for the oven.