Tag Archives: comfort food

Pelmeni

When asked if I have a favorite food, I usually blank. There’s so much delicious food in the world, and I’m so fickle: How can I possibly choose a single favorite food? And then I made pelmeni from scratch. And when I was describing them to a friend, I realized that they are, indeed, my all-time favorite food. Any time, any place, they are the perfect comfort food, beacons of sustenance and home. I’ve never realized that they are my favorite food because they are such a staple of growing up in a Russian-speaking household: always stocked in our freezer by the 50-count, always ready when we needed a quick meal, always soul-satisfyingly delicious.

Pelmeni are Russian meat dumplings. They can be filled with any combination of meats: beef, pork, lamb, veal, chicken. They are boiled, and can be served various ways: in chicken soup (similar to tortellini en brodo) or on their own tossed in sour cream. The way I grew up eating pelmeni — the only legitimate way, in my view — was tossed in butter, white distilled vinegar, and a sprinkle of cayenne pepper. I didn’t even know that other people ate pelmeni with sour cream until I was an adult. For me, sour cream was strictly reserved for vareniki (what most Americans know as pierogi). The addition of cayenne pepper, however, might be distinctly my father’s invention (thanks, Dad!).

I was too impatient to call up relatives for their pelmeni recipes (my mom has always bought them from Russian food stores in Brighton Beach. Side Note: Cafe Glechik on Coney Island Avenue probably has the best pelmeni and vareniki in the tri-state area). I had to know how to make them right away, so I did a Google search and came up with the recipe below based on an amalgam of dozens of recipes I found online.

The process is time consuming and a bit labor intensive. Instead of rolling out the dough, however, I made use of my pasta machine. Ironically, this is the first time I’ve used this machine, despite having owned it for over a year. One of the perks of making your own pelmeni is total control over the ingredients. This means, I used all pasture-raised eggs and meats for the dough and filling. I made a special trip to the Union Square Greenmarket to pick up pork from Flying Pigs Farm and beef from Bobolink Dairy & Bakehouse. Some traditionalists will say that the filling for these dumplings ought to be only ground meat and onions. I firmly believe that garlic makes everything better, and so I added it. My pelmeni, my rules! So, without further ado…

PELMENI (пельме́ни)
Makes about 100 dumplings

Ingredients
Filling:
1 pound ground pork
1 pound ground beef
1 large onion (6-8 oz.), finely chopped in a food processor or grated on a box grater
2 large garlic cloves, grated on a microplane grater
salt and freshly ground black pepper

Dough:
3 cups all-purpose white flour
2-3 fat pinches kosher salt
2 eggs
cold water (up to 1/2 cup)

Procedure

Start by mixing up all the filling ingredients in a large bowl.  Season the mixture generously with salt and pepper. I used a KitchenAid on low with the paddle attachment to give the filling a quick and thorough mix. You can definitely do it by hand. Cover with plastic wrap and let it rest in the fridge for at least an hour.

I found that mixing the dough in a food processor was the easiest way. In the bowl of a food processor, combine the flour and salt. Give it a quick pulse to combine. Add the eggs and pulse a few times to incorporate. Now, with the processor running, slowly stream in water until the dough just comes together. Don’t overwork the dough. Dump the dough onto a well-floured surface and knead until smooth (about 5 minutes). Wrap tightly in plastic wrap and refrigerate to let dough rest, at least one hour.

To make dough by hand: Whisk together flour and salt in a bowl, then mound the flour in the center of a large wooden cutting board. Make a well in the middle of the flour, add the eggs. Using a fork, beat together the eggs and begin to incorporate the flour starting with the inner rim of the well. Gradually add the water as you mix the dough with your hands. As you incorporate the eggs, keep pushing the flour up to retain the well shape (do not worry if it looks messy). The dough will come together in a shaggy mass when about half of the flour is incorporated.

Start kneading the dough with both hands, primarily using the palms of your hands. Add more flour, in 1/2-cup increments, if the dough is too sticky. Once the dough is a cohesive mass, remove the dough from the board and scrape up any left over dry bits. Lightly flour the board and continue kneading for 3 more minutes. The dough should be elastic and a little sticky. Continue to knead for another 3 minutes, remembering to dust your board with flour when necessary.

It’s easiest to roll out the dough in sections, so I recommend cutting the dumpling dough in four pieces. On a lightly-floured surface, roll out one section to about 1/16″ inch thickness. If you’re rolling the dough in a pasta machine, I suggest rolling it to setting 5 (second to last thinnest setting). I used a biscuit cutter (about 1 7/8″ diameter) to cut out circles in the dough. Traditionally, Russian home cooks have been known to use drinking glasses to cut out the circles.

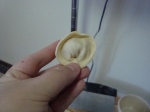
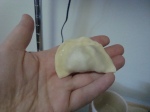
Place one level teaspoon of filling at the center of each circle, fold the dough over to make a half-circle, and pinch the edges closed. (Your seam won’t hold if there is too much flour on the dough or if you accidentally get it wet. If the dough is floury, moisten the edges very lightly with a drop of water; if it is wet, add a tiny bit of flour.) Now bring the ends of the half-circle together until they overlap a little and pinch them closed to form a tortellini-like shape.


Repeat with the remaining dough and filling, placing the finished pelmeni or vareniki on a lightly floured surface and making sure they aren’t touching each other. At this point, you can either cook them or freeze them for later use.

To cook the dumplings, bring a pot of salted water to a boil, add pelmeni and stir so they don’t stick to the bottom. Technically, they are ready once they float to the surface, but I usually cook them for 2 more minutes to make sure the meat is cooked through. If you cook them too long, though, the meat can dry out and the dough fall apart.

To freeze the dumplings, place them in a single layer (not touching each other) on a metal cookie sheet and put in the freezer until the dough is frozen (at least an hour). Once the exterior of the dumplings is frozen, you can bag them without worrying about them sticking together.

As mentioned above, I serve pelmeni tossed in butter, white distilled vinegar, and cayenne. But, really, your imagination is your limitation on how to serve these deeply satisfying, perfect meat dumplings.

Note: You can use a special pelmeni mold to make things a bit faster. However, the foldover method I described above produces much prettier dumplings (dumplings, incidentally, that provide a little channel all the way around to hold onto butter, sourcream, vinegar, soup, etc.).

Apple Crumble

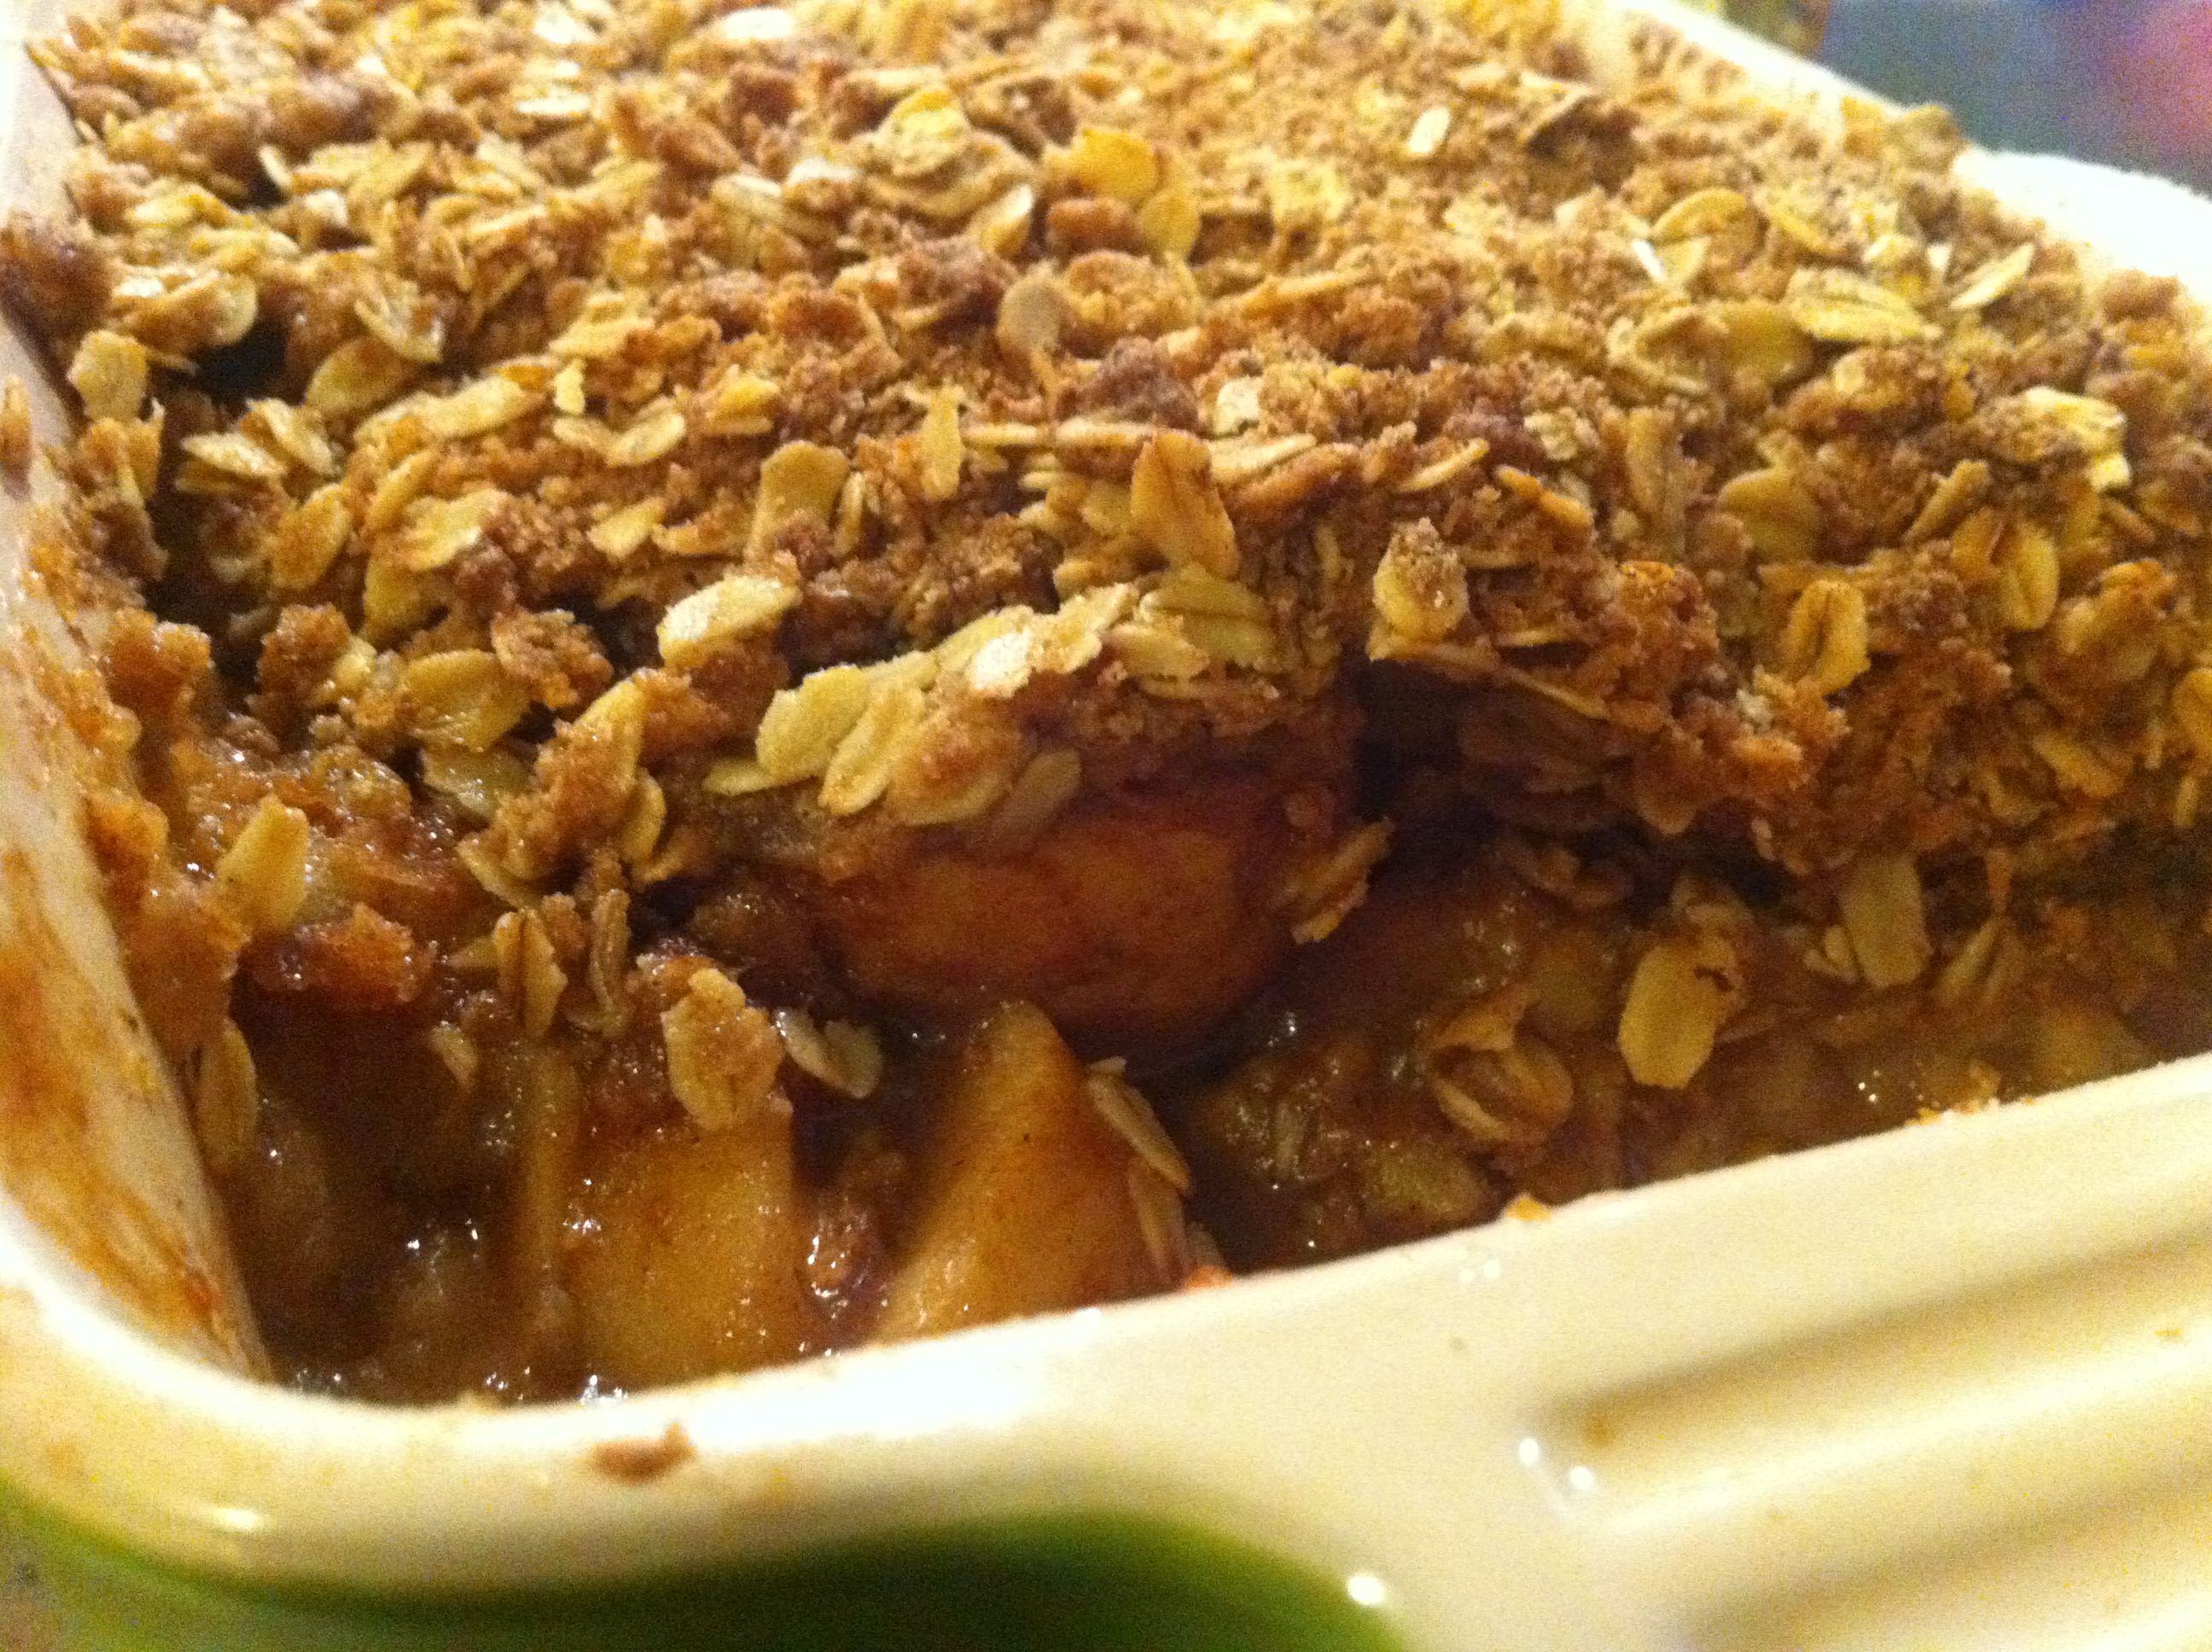
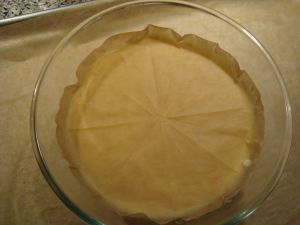
I’ve been getting a lot of apples and pears in my CSA. A LOT. A friend of mine invited me over to her house to break the Yom Kippur fast, so I decided to bring an Apple Crumble Pie. This recipe is for a very large (13 x 9 inches) tray of Apple Crumble, but I decided to divide the filling between a 9-inch (alas, store-bought) piecrust and a 10-x-7-inch baking dish.

I think that this recipe is an amalgamation of a few different apple pie and apple crisp recipes I had looked up last year. It’s really easy to play around with it and figure out your ideal combination of flavors. I, predictably, decided to sweeten the filling with sucanat, as it has become one of my favorite natural sweeteners because of its rich molasses flavor. You can, of course, substitute sugar. Our CSA bag has included a variety of apples, so I used whatever was in the bag: Cortland, Macintosh, Golden Delicious, Empire. I like the variety of flavors and textures that result from combining different varieties of apples, making each bite a bit of a surprise.

Apple Crumble or Apple Crumble Pie

Ingredients

Topping:

  • 2 ½ cups old-fashioned oats
  • 1 cup (packed) light brown sugar
  • 1 ½ teaspoons ground cinnamon
  • ¼ teaspoon salt
  • 1 cup all purpose flour
  • 1 cup (2 sticks) chilled unsalted butter, cut into ½-inch cubes

Filling:

  • 4 pounds mixed apples
  • 2/3 cup sucanat
  • 2 teaspoons ground cinnamon
  • 1 teaspoon nutmeg
  • 1 teaspoon allspice
  • 1 teaspoon ground ginger
  • ¼ teaspoon salt
  • 2 teaspoons vanilla extract
  • 2 tablespoons all purpose flour
  • 2 tablespoons unsalted butter, melted

Vanilla ice cream

Procedure

Preheat oven to 375°F.  Lightly grease a 13-x-9-x-2-inch glass baking dish.

Mix oats, brown sugar, and flour in a bowl.  Add butter and rub in with fingertips until topping comes together in moist clumps. (Can be made 1 day ahead. Cover; chill.)

Mix all filling ingredients in large bowl to coat apples.  Transfer to baking dish.  Sprinkle topping over.

Bake crumble until apples are tender and topping is brown and crisp, about 55 minutes.  Cool slightly.  Spoon warm crumble into bowls.  Serve with ice cream.

Note: If you’re baking this recipe in a pie or 2 smaller baking dishes, check on it after about 40 minutes. You don’t want the crumble to burn.

Ready for the oven.

Comfort Food II: Banana Pudding

And now, the second installment of the Comfort Food series.

Generally, my desire for salt outweighs my sweet tooth, so my comfort foods tend to be savory. Pudding is a major exception: I just love the texture and sweetness of pudding. Especially vanilla pudding. Growing up, my experience with pudding was mainly the Jell-O ® pudding cups. Most of what we ate as kids was prepared from scratch by my mom, but she didn’t really do desserts (she still doesn’t). So, occasionally, she would let me have Jell-O ® pudding cups in my school lunch. I had never even heard of banana pudding until much later in life — college? later than that? — because, as I’ve mentioned before, I was raised by foreigners. But, I’m so happy that I did eventually discover banana pudding! I happen to love Nabisco ® Nilla Wafers. There’s something very comforting about how simple they are. And, generally, my dessert tastes tend toward the very plain (sponge cakes with chocolate frosting, angel food, custards, etc.).

After deciding to focus on comfort food for this blog, I decided that I must make my own banana pudding. But, of course, I couldn’t go the packaged/instant route. I had to make it from scratch. ALL of it. Luckily, Alton Brown did an entire Good Eats episode on banana pudding, including making vanilla wafers from scratch. Hallelujah!

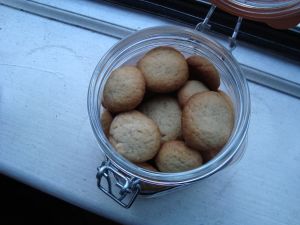
So, first, I made the wafers following Alton’s recipe almost exactly. The only deviation in ingredients was that my vanilla sugar has specks of vanilla bean in it (which makes for a lovely looking cookie, picture below). Also, I don’t own a stand mixer, so I used a handheld electric mixer. The cookies turn out more buttery and more complex than their Nabisco ® brethren. Definitely an improvement on the original.

Vanilla Wafers

Alton Brown, Yes We Have No Banana Pudding

Ingredients:

  • 7 ounces all-purpose flour*
  • ¾ teaspoon aluminum-free baking powder
  • ½ teaspoon kosher salt
  • 4 ounces unsalted butter, room temperature
  • 3 ½ ounces vanilla sugar*
  • 1 large egg
  • 4 teaspoons vanilla extract
  • 1 tablespoon whole milk

*Yes, this is measured by weight. Please do yourself a favor and buy a kitchen scale. I have a digital one, but an analog scale is just fine, too. Just do it.

Procedure:

Position 1 oven rack in the top third of the oven and another in the bottom third. Heat the oven to 350ºF.

Sift together the flour, baking powder, and salt in a small bowl and set aside. Cream the butter and vanilla sugar in the bowl of a stand mixer on medium speed for 2 minutes, stopping to scrape down the sides of the bowl after 1 minute. Add the egg and incorporate on medium speed for 30 seconds. Scrape down the sides of the mixer bowl. Add the vanilla extract and milk and blend on low speed for 15 seconds. Add the flour mixture and mix on low speed just to incorporate. Chill the batter in the refrigerator for at least 10 minutes before scooping.

Scoop the batter in teaspoon-sized balls and arrange them on 2 parchment paper-lined half sheet pans, approximately 35 cookies per pan. Use the heel of your hand to slightly flatten each ball. Bake, 2 pans at a time, rotating the pans halfway through the baking, until golden brown, about 15 to 20 minutes. Remove the pans to a cooling rack to cool completely before removing the cookies from the pan.

Now, for the pudding part of the banana pudding. Hmmm… I don’t know whether it was me or the recipe (probably a combination of the two), but I wasn’t thrilled with how this pudding turned out. The vanilla pudding was too sweet, for one (and I didn’t even add any banana liqueur, nor did I sweeten the whipped cream). I don’t think Alton calibrated the pudding recipe to account for the ripeness of my bananas. Also, the texture was off, a little grainy — but I’m pretty sure that’s because I didn’t stir the pudding the whole time it was cooking. Remember, kids — CONSTANTLY STIR YOUR PUDDING!

Alton Brown’s Refrigerated Banana Pudding

Ingredients:

  • 3/4 cup granulated sugar, plus 2 tablespoons
  • 3 tablespoons cornstarch
  • 1/4 teaspoon kosher salt
  • 2 large eggs
  • 1 large egg yolk
  • 2 cups whole milk
  • 3 tablespoons unsalted butter, cut into 6 pieces and chilled
  • 1/2 teaspoon vanilla extract
  • 45 vanilla wafers
  • 4 ounces banana liqueur
  • 3 ripe bananas, peeled and sliced into 1/4-inch rounds
  • 1 tablespoon freshly squeezed lemon juice
  • 1 cup heavy whipping cream, very cold

Procedure:

Combine ¾ cup of the sugar, the cornstarch and salt in a 3-quart saucier. Add the eggs and egg yolk and whisk to combine. Add the milk and whisk until well combined, about 30 seconds. Cook over medium-low heat, stirring constantly until the mixture reaches 172º to 180ºF, approximately 5 to 10 minutes. The mixture will begin to

thicken and bubble around the edges. Remove from the heat and whisk in the butter, 1 piece at a time, being sure each piece is fully incorporated before adding the next. Whisk in the vanilla extract. Cover the surface of the pudding with a round piece of parchment and refrigerate until the pudding reaches 45ºF, approximately 2 hours.

Lay the vanilla wafers on a half sheet pan. Slowly and evenly pour the banana liqueur over the cookies. Set aside for 10 minutes.

Toss the banana slices with the lemon juice in a small bowl and set aside.

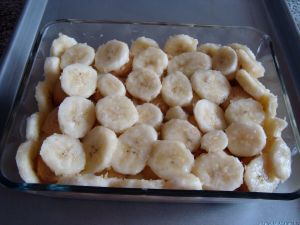
Spread a small amount of pudding in the bottom of a 1 ½-quart glass mixing bowl. Cover with a layer of vanilla wafers, followed by a layer of banana slices. Spoon 1/3 of the remaining pudding on top of the bananas and repeat, ending with a layer of pudding.

Put the whipping cream in the bowl of a stand mixer, add the remaining 2 tablespoons of sugar and whisk just until stiff peaks form. Spoon the whipped cream over the cooled pudding and spread to cover completely. Top with any remaining soaked cookies. Refrigerate for 30 minutes before serving. Store, covered, in the refrigerator for up to 3 days.

For more on banana pudding, check out A Sweet Spoonful, and an alternative sugar cookie recipe from My Life Runs on Food.

Comfort Food

I’ve decided to take my posts in a new direction. I’m focusing on comfort foods from around the globe.

According to the Merriam-Webster dictionary, comfort food is “food prepared in a traditional style having a usually nostalgic or sentimental appeal.” I like this definition a lot. Not everybody craves Mac & Cheese when they need to be comforted. Some people crave calf liver with sautéed onions and mashed potatoes (that’s what you get when you’re raised in an Eastern European household). My personal comfort foods change with my moods and the seasons. Yes, sometimes it’s liver and mashed potatoes, but other times a Macrobiotic platter of brown rice, steamed vegetables and sea vegetables really hit home for me. Granted, I did not grow up eating brown rice and steamed veggies, but there is kind of a sentimental, old-school health nut, my-body-is-a-temple vibe to that kind of meal.

I’m going to be asking around a lot about people’s favorite comfort foods. Hopefully, I’ll be able to pull a variety of people into my kitchen to teach me how to prepare their favorite childhood meals. And, of course, this is a great opportunity for me to delve into my cookbooks — Madhur Jaffrey, Ramin Ganeshram, Mai Pham, I’m looking at you!

I began the comfort food kick Thursday evening when cooking some meals for the upcoming week. I did make the sautéed liver with caramelized onions, yes. But, I also made pork chops. I procured a pair of Aberdeen Hill Farms pork chops at the Park Slope Food Co-op. These chops are quite good — tender, juicy (as long as you don’t overcook them) and flavorful. The whole process is pretty quick, and . . . a bit messy!

Some people like to marinate their chops in milk to tenderize them. These chops are thin (only about a half-inch) and quite tender on their own, so I decided bypass that step.

First, you set up your work station. Line up three shallow bowls (pie plates work really well for this) consisting, respectively, of unbleached all-purpose flour, 1 beaten egg, and bread crumbs (you can jazz this up by using panko breadcrumbs)

Generously season each pork chop on both sides with salt and pepper.

Place a 10- or 12-inch frying pan with steep sides (I prefer a cast-iron skillet) over medium heat. When the pan is hot, add about 1/4 cup of cooking oil to the pan (I used organic sunflower seed oil, but you can use peanut oil, lard, canola oil, or any oil you have that’s suitable for frying).

While the pan is heating up dip your first pork chop in the flour. Be sure to coat all surfaces, then shake off excess flour by gently tossing the chop from hand to hand. You want a very thin layer of flour to adhere to the meat. Next, dip chop in the beaten egg. Again, be sure to coat all surfaces. Finally, press the pork chop into the breadcrumbs on all sides. Place the chop in the hot oil, and repeat with the second pork chop.

Since these pork chops were pretty thin, I fried them until they were golden brown on each side. I don’t mind a little pink inside my chop, but the FDA frowns upon this practice — they say your meat should be cooked all the way through. If you find that your breading is burning before you’ve reached desired doneness in your meat, you can finish off the meat in a 350ºF oven.

The process is pretty simple, and you end up with delightfully crispy pork chops that make for awesome leftovers, too!

Variations: You can use the same exact method with chicken and veal — in which case, all of the above are known as Wiener Schnitzel or, south of the Alps, Cotoletta Milanese. If you do this with a steak, I believe it’s referred to as chicken-fried steak. I’m guessing you can even try this with a veggie burger if you must 🙂

IMG_0433

Flour --> Egg --> Breadcrumbs

IMG_0435

Fry on side 1.

IMG_0438

Fry on side 2.

IMG_0440

Devour.