Tag Archives: vegetarian

Apple Crumble

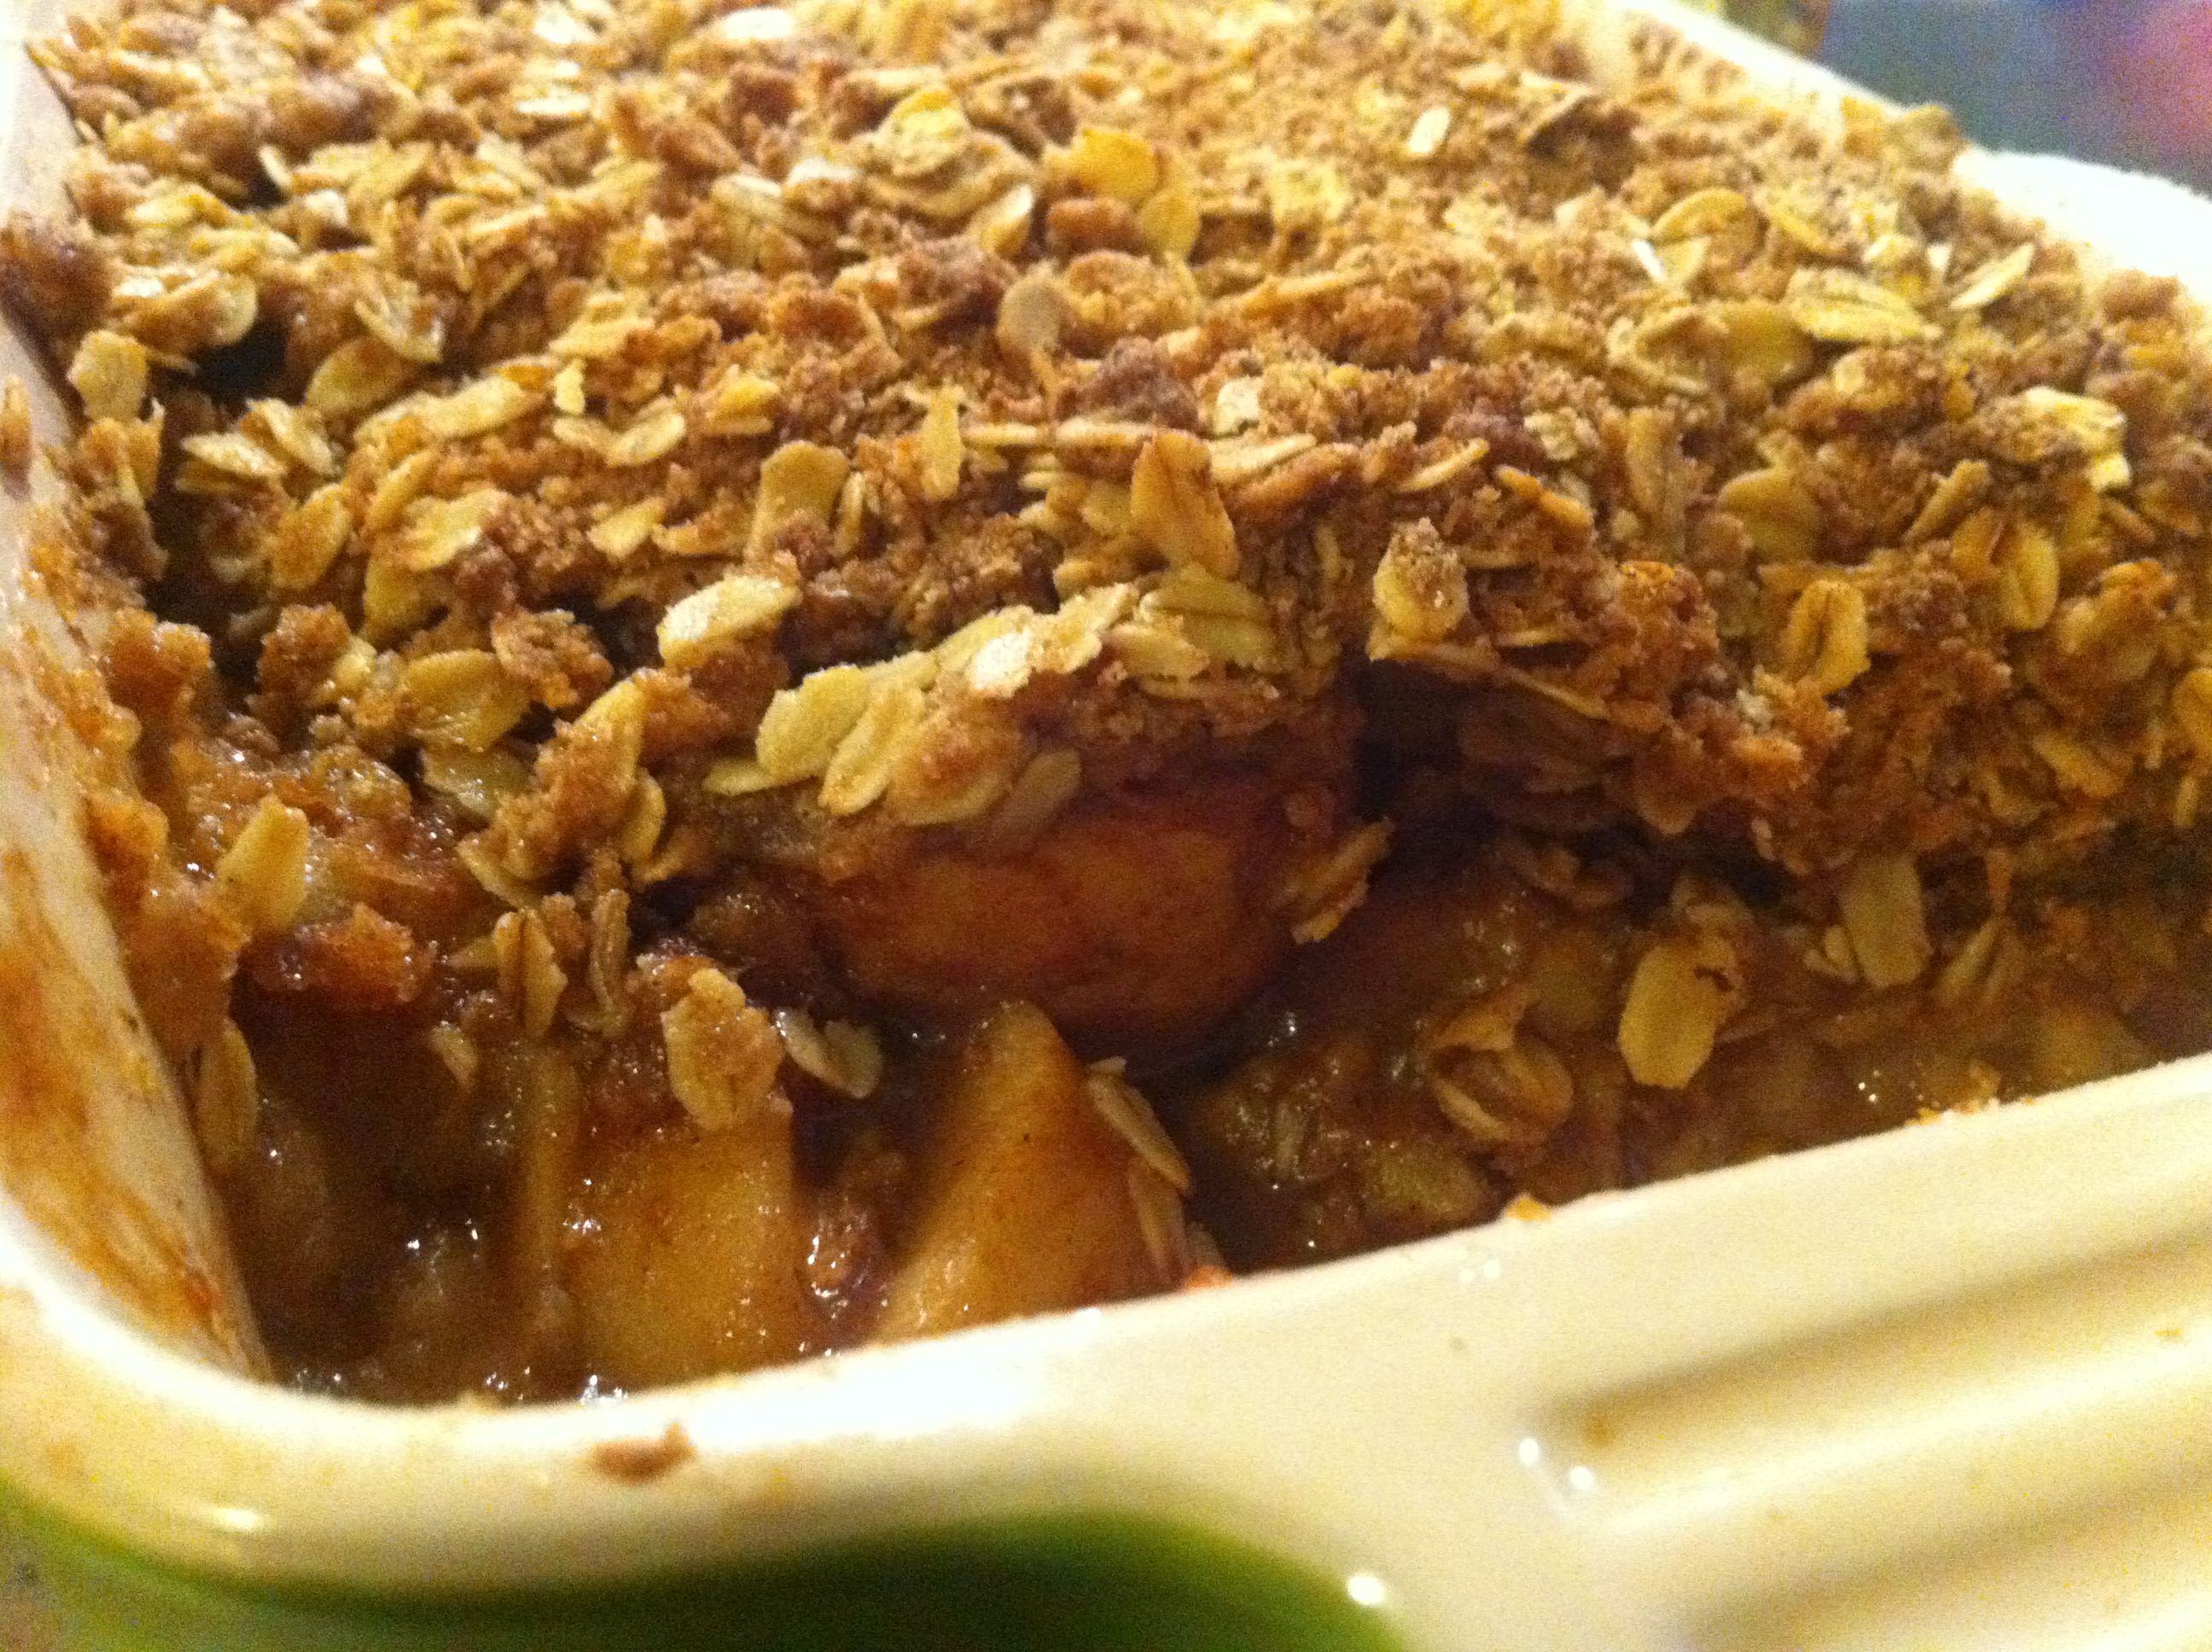
I’ve been getting a lot of apples and pears in my CSA. A LOT. A friend of mine invited me over to her house to break the Yom Kippur fast, so I decided to bring an Apple Crumble Pie. This recipe is for a very large (13 x 9 inches) tray of Apple Crumble, but I decided to divide the filling between a 9-inch (alas, store-bought) piecrust and a 10-x-7-inch baking dish.

I think that this recipe is an amalgamation of a few different apple pie and apple crisp recipes I had looked up last year. It’s really easy to play around with it and figure out your ideal combination of flavors. I, predictably, decided to sweeten the filling with sucanat, as it has become one of my favorite natural sweeteners because of its rich molasses flavor. You can, of course, substitute sugar. Our CSA bag has included a variety of apples, so I used whatever was in the bag: Cortland, Macintosh, Golden Delicious, Empire. I like the variety of flavors and textures that result from combining different varieties of apples, making each bite a bit of a surprise.

Apple Crumble or Apple Crumble Pie

Ingredients

Topping:

  • 2 ½ cups old-fashioned oats
  • 1 cup (packed) light brown sugar
  • 1 ½ teaspoons ground cinnamon
  • ¼ teaspoon salt
  • 1 cup all purpose flour
  • 1 cup (2 sticks) chilled unsalted butter, cut into ½-inch cubes

Filling:

  • 4 pounds mixed apples
  • 2/3 cup sucanat
  • 2 teaspoons ground cinnamon
  • 1 teaspoon nutmeg
  • 1 teaspoon allspice
  • 1 teaspoon ground ginger
  • ¼ teaspoon salt
  • 2 teaspoons vanilla extract
  • 2 tablespoons all purpose flour
  • 2 tablespoons unsalted butter, melted

Vanilla ice cream

Procedure

Preheat oven to 375°F.  Lightly grease a 13-x-9-x-2-inch glass baking dish.

Mix oats, brown sugar, and flour in a bowl.  Add butter and rub in with fingertips until topping comes together in moist clumps. (Can be made 1 day ahead. Cover; chill.)

Mix all filling ingredients in large bowl to coat apples.  Transfer to baking dish.  Sprinkle topping over.

Bake crumble until apples are tender and topping is brown and crisp, about 55 minutes.  Cool slightly.  Spoon warm crumble into bowls.  Serve with ice cream.

Note: If you’re baking this recipe in a pie or 2 smaller baking dishes, check on it after about 40 minutes. You don’t want the crumble to burn.

Ready for the oven.

Rhubarb-Vanilla Jam, Take 2

In my last post, I had mentioned that I might make this Rhubarb-Vanilla Jam recipe from Food 52. I’ve decided to make my own variation on it. I didn’t read the editor’s note to the original recipe until the jam was already cooking — if I had, I probably would have halved the total amount of sugar in the recipe. The resulting jam is definitely sweet, but also complex and delicious. I decided to use half organic cane sugar, and half sucanat. I’ve mentioned sucanat before, and I really do love the deep molasses flavor it imparts — a perfect complement to rhubarb’s bright tartness. For the most effective use of vanilla beans, check out Shuna Lydon’s blog post about vanilla.

Rhubarb-Vanilla Jam with Sucanat

Yields approximately 1 pint

Ingredients

  • 1 cup organic cane sugar
  • 1 cup organic sucanat
  • 2 vanilla beans
  • 18 ounces rhubarb, chopped into small pieces
  • 1/4 cup water
  • pinch kosher salt

Procedure

  1. Whisk together the cane sugar and sucanat. Split the vanilla beans into two halves. Lay each bean on a flat surface and scrape the interior out with a small sharp knife. Knock the oily interior into the sugar mixture and smush the seeds into it with your thumb, forefinger and middle finger to distribute evenly throughout.
  2. Place the rhubarb, vanilla-sugar mixture and water in a heavy saucepan with a generous pinch of kosher salt.
  3. Stir the mixture over medium heat until the sugar is dissolved, stirring to scrape the bottom. Continue cooking over medium heat, stirring and breaking up the fruit with the back of the spoon. Cook for about 25-30 minutes until the jam is thick, just shy of spreadable, as it will thicken when it cools.
  4. Remove the vanilla beans and reserve them for later use. Carefully spoon the hot jam into jars and leave unsealed to cool. When cool, screw on the lid and refrigerate.

Rhubarb: not just for dessert anymore!

A quick note about rhubarb. This week, our CSA fruit share included about 3 pounds of rhubarb from Briermere Farms, and I’ve been contemplating what to do with it. I’ll most likely make a few pints of this delicious Rhubarb-Vanilla Jam from Food 52 that I made last year, but I’m also thinking about savory uses for rhubarb. Rhubarb, in and of itself, isn’t sweet, but it’s most often paired with strawberries in jams, compotes and pies. I found this savory, Indian-inspired recipe for a Rhubarb Lentil Stew last year, and I thought it was brilliant. Usually, I’ll add lemon juice to lentil-based soups and stews to add that bright burst of tartness that balances out the earthy flavor of the legumes. In Mark Bittman’s recipe, the rhubarb provides not only the necessary acidity, but also complex flavor and texture to an already flavorful dish. As with so many of Mark Bittman’s recipes, this one is minimal effort for maximum pleasure. Enjoy!

Lentil and Rhubarb Stew with Indian Spices by Mark Bittman

Ingredients
  • 3 or 4 stalks rhubarb, strings removed, chopped
  • 1 cup orange lentils, well washed
  • 2 tablespoons minced ginger
  • 1 tablespoon minced garlic
  • 4 cardamom pods
  • 1 tablespoon mustard seeds
  • 2 cloves
  • 1 teaspoon cracked black pepper
  • 1 dried ancho or other mild chili, optional
  • Salt
  • Chopped cilantro leaves for garnish
Method
  • Combine all ingredients except salt and cilantro in a saucepan and add water to cover by about 1 inch. Cook at a steady simmer until lentils and rhubarb are quite soft, 20 to 30 minutes. Remove cloves and, if you like, cardamom pods. Add salt, then taste and adjust seasoning. Garnish with cilantro and serve.

Comfort Food II: Banana Pudding

And now, the second installment of the Comfort Food series.

Generally, my desire for salt outweighs my sweet tooth, so my comfort foods tend to be savory. Pudding is a major exception: I just love the texture and sweetness of pudding. Especially vanilla pudding. Growing up, my experience with pudding was mainly the Jell-O ® pudding cups. Most of what we ate as kids was prepared from scratch by my mom, but she didn’t really do desserts (she still doesn’t). So, occasionally, she would let me have Jell-O ® pudding cups in my school lunch. I had never even heard of banana pudding until much later in life — college? later than that? — because, as I’ve mentioned before, I was raised by foreigners. But, I’m so happy that I did eventually discover banana pudding! I happen to love Nabisco ® Nilla Wafers. There’s something very comforting about how simple they are. And, generally, my dessert tastes tend toward the very plain (sponge cakes with chocolate frosting, angel food, custards, etc.).

After deciding to focus on comfort food for this blog, I decided that I must make my own banana pudding. But, of course, I couldn’t go the packaged/instant route. I had to make it from scratch. ALL of it. Luckily, Alton Brown did an entire Good Eats episode on banana pudding, including making vanilla wafers from scratch. Hallelujah!

So, first, I made the wafers following Alton’s recipe almost exactly. The only deviation in ingredients was that my vanilla sugar has specks of vanilla bean in it (which makes for a lovely looking cookie, picture below). Also, I don’t own a stand mixer, so I used a handheld electric mixer. The cookies turn out more buttery and more complex than their Nabisco ® brethren. Definitely an improvement on the original.

Vanilla Wafers

Alton Brown, Yes We Have No Banana Pudding

Ingredients:

  • 7 ounces all-purpose flour*
  • ¾ teaspoon aluminum-free baking powder
  • ½ teaspoon kosher salt
  • 4 ounces unsalted butter, room temperature
  • 3 ½ ounces vanilla sugar*
  • 1 large egg
  • 4 teaspoons vanilla extract
  • 1 tablespoon whole milk

*Yes, this is measured by weight. Please do yourself a favor and buy a kitchen scale. I have a digital one, but an analog scale is just fine, too. Just do it.

Procedure:

Position 1 oven rack in the top third of the oven and another in the bottom third. Heat the oven to 350ºF.

Sift together the flour, baking powder, and salt in a small bowl and set aside. Cream the butter and vanilla sugar in the bowl of a stand mixer on medium speed for 2 minutes, stopping to scrape down the sides of the bowl after 1 minute. Add the egg and incorporate on medium speed for 30 seconds. Scrape down the sides of the mixer bowl. Add the vanilla extract and milk and blend on low speed for 15 seconds. Add the flour mixture and mix on low speed just to incorporate. Chill the batter in the refrigerator for at least 10 minutes before scooping.

Scoop the batter in teaspoon-sized balls and arrange them on 2 parchment paper-lined half sheet pans, approximately 35 cookies per pan. Use the heel of your hand to slightly flatten each ball. Bake, 2 pans at a time, rotating the pans halfway through the baking, until golden brown, about 15 to 20 minutes. Remove the pans to a cooling rack to cool completely before removing the cookies from the pan.
Now, for the pudding part of the banana pudding. Hmmm… I don’t know whether it was me or the recipe (probably a combination of the two), but I wasn’t thrilled with how this pudding turned out. The vanilla pudding was too sweet, for one (and I didn’t even add any banana liqueur, nor did I sweeten the whipped cream). I don’t think Alton calibrated the pudding recipe to account for the ripeness of my bananas. Also, the texture was off, a little grainy — but I’m pretty sure that’s because I didn’t stir the pudding the whole time it was cooking. Remember, kids — CONSTANTLY STIR YOUR PUDDING!

Alton Brown’s Refrigerated Banana Pudding

Ingredients:

  • 3/4 cup granulated sugar, plus 2 tablespoons
  • 3 tablespoons cornstarch
  • 1/4 teaspoon kosher salt
  • 2 large eggs
  • 1 large egg yolk
  • 2 cups whole milk
  • 3 tablespoons unsalted butter, cut into 6 pieces and chilled
  • 1/2 teaspoon vanilla extract
  • 45 vanilla wafers
  • 4 ounces banana liqueur
  • 3 ripe bananas, peeled and sliced into 1/4-inch rounds
  • 1 tablespoon freshly squeezed lemon juice
  • 1 cup heavy whipping cream, very cold

Procedure:

Combine ¾ cup of the sugar, the cornstarch and salt in a 3-quart saucier. Add the eggs and egg yolk and whisk to combine. Add the milk and whisk until well combined, about 30 seconds. Cook over medium-low heat, stirring constantly until the mixture reaches 172º to 180ºF, approximately 5 to 10 minutes. The mixture will begin to

thicken and bubble around the edges. Remove from the heat and whisk in the butter, 1 piece at a time, being sure each piece is fully incorporated before adding the next. Whisk in the vanilla extract. Cover the surface of the pudding with a round piece of parchment and refrigerate until the pudding reaches 45ºF, approximately 2 hours.
Lay the vanilla wafers on a half sheet pan. Slowly and evenly pour the banana liqueur over the cookies. Set aside for 10 minutes.

Toss the banana slices with the lemon juice in a small bowl and set aside.

Spread a small amount of pudding in the bottom of a 1 ½-quart glass mixing bowl. Cover with a layer of vanilla wafers, followed by a layer of banana slices. Spoon 1/3 of the remaining pudding on top of the bananas and repeat, ending with a layer of pudding.
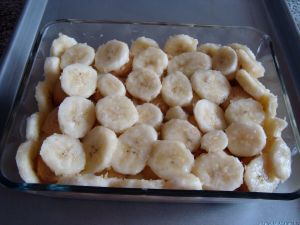
Put the whipping cream in the bowl of a stand mixer, add the remaining 2 tablespoons of sugar and whisk just until stiff peaks form. Spoon the whipped cream over the cooled pudding and spread to cover completely. Top with any remaining soaked cookies. Refrigerate for 30 minutes before serving. Store, covered, in the refrigerator for up to 3 days.

For more on banana pudding, check out A Sweet Spoonful, and an alternative sugar cookie recipe from My Life Runs on Food.

Passover Macaroons

It’s Passover week! Passover is absolutely my favorite Jewish holiday. I find the Exodus story spiritually nourishing, and you can get really creative in how you choose to tell the story during the Seder — it’s the epitome of do-it-yourself spirituality. Social justice is a big theme at many of the seders I attend. I’m slowly building my own Haggadah collection, and plan to eventually put together my own Haggadah.

In April of 2006, I attended an “Exotic Sephardic Seder” cooking class taught by Jennifer Abadi at the JCC in Manhattan. The class was great — we learned to make a variety of dishes that didn’t at all resemble the typical Eastern European Jewish (also known as Ashkenazi) holiday table that I grew up with. I’m not knocking Ashkenazi cooking at all, but variety, as they say, is the spice of life. I’m going to a potluck seder Monday night, and I’ve decided to bring cookies for a few reasons: they’re easy to make in large batches, they’re always a crowd pleaser, and I love this recipe!

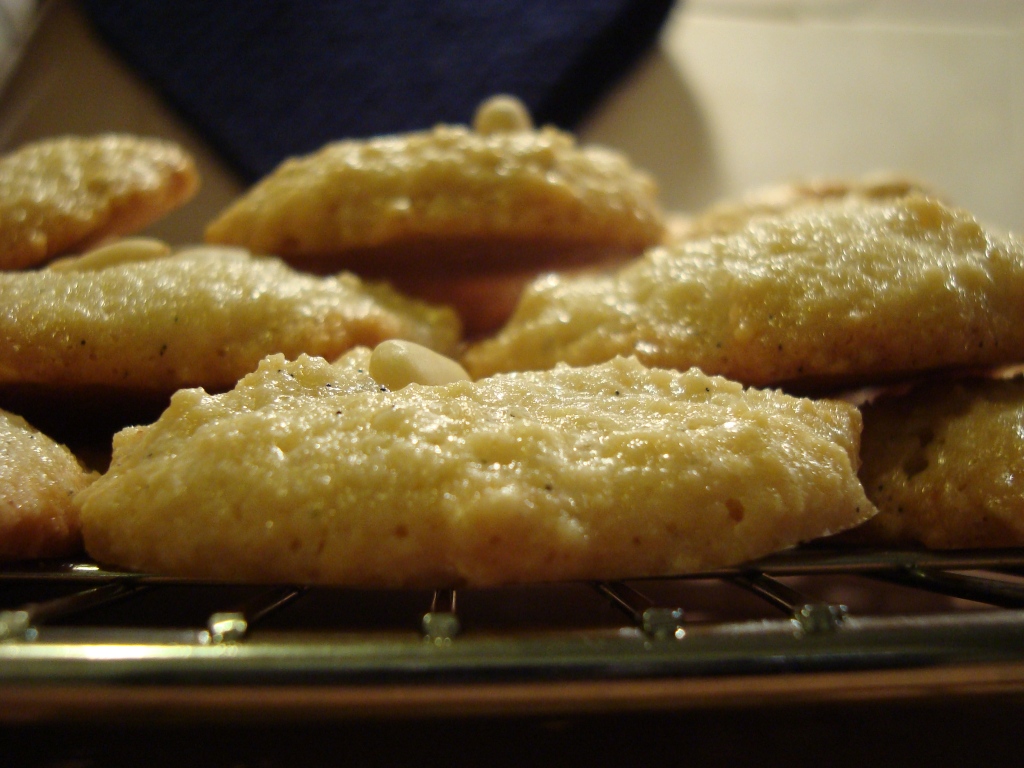
Technically this cookie is a macaroon — all that means is that this is a drop cookie made of egg whites, sugar and almonds. No flour, which means it’s a perfect recipe for those observing Passover — which involves strict dietary restrictions involving grains and leavening.

I’ve made some minor adaptations to this recipe. Namely, I replaced vanilla extract with vanilla beans, and not because I was trying to be fancy. Kosher for Passover vanilla extract is difficult to come by for a few reasons. It’s usually made from grain alcohol, which is one of the restricted food items during Passover. Also, some brands of vanilla extract contain corn syrup, and the consumption of corn products is prohibited amongst Ashkenazi Jews (see: Kosher for Passover Coca Cola®). And, for me, imitation vanilla flavor is absolutely out of the question. Hence, vanilla bean. Shuna Lydon, the pastry chef at Peels restaurant in New York City, talks about how to most effectively use vanilla beans here and here.

For this recipe, I used the oily interior of the vanilla bean to make vanilla sugar. I also have a jar of vanilla sugar that I made using the ground-up pod (as per Ms. Lydon’s suggestion). You can also use the empty pods for making your own vanilla extract (which I also have a jar of in my kitchen cupboard — alas, it’s made with vodka, so I couldn’t use it for Passover purposes).

And then there’s the issue of confectioner’s sugar. Confectioner’s sugar often has cornstarch mixed in with it to prevent caking. As mentioned above, corn products are a no-no for many observant Jews. Luckily, I happened to have Trader Joe’s ® organic powdered sugar, which contains tapioca starch. This satisfied my Passover needs (I’m not a strict observer, meaning I didn’t look for the “Kosher for Passover” label). In the past, however, I have ground granulated sugar in a food processor for this recipe.

So, without further ado, I present to you the recipe for . . .

Italian Macaroons with Almonds and Pignoli

Adapted from Jennifer Abadi’s “Exotic Sephardic Seder” cooking class, April 3, 2006

Serves 15-20 people (approximately 6 dozen macaroons)

Ingredients:

  • 1 vanilla bean
  • ¾ cup granulated sugar
  • 1 ½ cups whole blanched almonds (You can also use the same amount of ground almonds.)
  • 2 ½ cups pine nuts
  • 1 cup confectioner’s sugar
  • 3 teaspoons almond extract (I used an all-natural, alcohol-free almond flavoring.)
  • egg whites from 6 large eggs

Special Equipment: Food Processor

Procedure:

  1. Preheat oven to 325ºF.
  2. Make vanilla sugar. Split the vanilla bean top to bottom, vertically, into two distinct halves. Lay on a flat surface and scrape interior out with a small sharp knife. Knock the oily interior into the sugar. “Smush” seeds into sugar with thumb, forefinger and middle finger.
  3. Combine almonds (ground or whole) with pine nuts in a food processor until finely ground and well combined.
  4. Add vanilla sugar and confectioner’s sugar and pulse together until a soft meal is formed.
  5. Add almond extract and egg whites and pulse mixture once again until a soft paste is formed.
  6. Drop one heaping teaspoon at a time onto a baking sheet lined with parchment paper, leaving one inch between cookies. Decorate each mound of cookie dough with three or four pine nuts or a whole almond. Do not press down the cookie dough.
  7. Bake the macaroons until a light golden brown on bottom and edges, around 15-17 minutes. Allow to cool slightly, then transfer to a wire cooling rack to cool completely.
  8. Store in an airtight container in the refrigerator for up to one week. These cookies can also be frozen.